Plan Exchange to Office 365 Migration Step by Step as Done Here
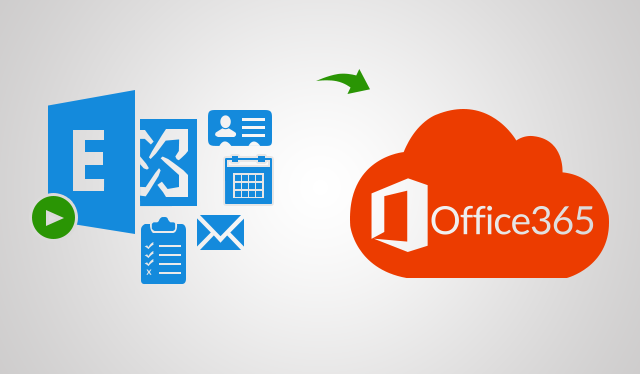
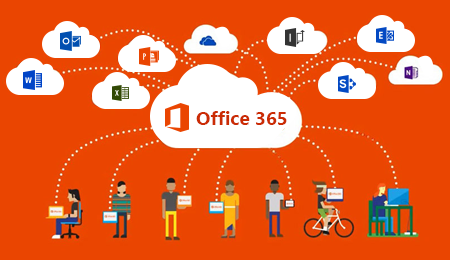
Microsoft Office 365 has gained immense popularity in last few years due to its wide range of features and ease of accessibility. The cloud storage makes it easy for the users to access their data from anywhere and anytime. And they don’t have to save every file on their system which saves a lot of system storage. Due to all these advantages to end users, many organizations are planning for Exchange to Office 365 Migration.

But the complex and lengthy task restricts them to carry out the task without proper planning and knowledge. Any mistake during the process can result in data loss which can cost millions of dollars to organizations. So, it is recommended to get proper knowledge and plan before starting the task. You can refer the following section and get step by step implementation.
Step by Step Exchange to Office 365 Migration Process Explained
After having a lot of queries by users to provide a detailed step by step migration process. So, we have divided the entire process in 4 steps as discussed below:
Step #1 PLANNING
The first and the most important part of Exchange 2013, 2016 to Office 365 migration is planning. If the Administrator don’t have proper plan for entire process, then job can mess up and organizations will end up losing their crucial data. Microsoft recommends its users to take help of Exchange Deployment Assistant for migration task. It offers most of migration scenarios and helps Administrators to make the process efficient and hassle-free.
When you will run this tool, it will ask you a certain set of questions that you have answer as per your requirements. Once, you complete that answering task, it will generate a step by step guide. Read that guide carefully and understand it and follow it through out Exchange mailbox to Office 365 migration.
Step #2 Perform Testing
Now, the next step is to make sure that the Microsoft Exchange that you are using supports Autodiscover and Outlook Anywhere (RPC over HTTP). You can verify the Exchange Setup by following the steps mentioned in the guide you got in #Step 1. Once the setup is verified, you can use Microsoft Remote Connectivity Analyzer Tool to run Outlook Anywhere test.
After the test is completed, if it completed successfully then you can proceed further to Step 3. Else, you to resolve all the errors and warnings (refer guide) and then proceed to next step.
Step #3 – Cutover Migration
You have to configure Exchange to Office 365 cutover migration as discussed in following steps:
- Login to Microsoft Office 365 Admin Center.
- Go to Exchange Admin Center >> Migration.
- Click on “+” icon to open drop down menu and select Migrate to Exchange Online option.
- Choose Cutover Migration (Support for Exchange 2003 and later versions)
- Enter On-Premise Exchange Account Credentials which have full access permissions.
If it is configured properly, Autodiscover will resolve On-Premise Server and RPC Proxy Server.
- Enter a New Migration Batch name.
- Now, select single user or multiple users to get report after completion of Exchange mailbox to O365 migration.
- If you are ready to start migration process, then start the batch else select manually and start the batch later.
- Click New. It will create a new migration batch and the status will be set to sync.
- Now, migration process will begin, and it will take time depending on the number of mailboxes and their size.
- You can check migration details under View Details option.
Step #4 – Exchange to Office 365 Migration Completion
You will get a report on your mentioned email address once all the mailboxes are moved to O365. After completing all these steps, you just need to migrate public folders, assign O365 licenses and your migration task is completed.
Important Note: If you don’t have enough time or technical expertise to perform the migration, then you can consider SysTools Exchange On-Premise to Office 365 Migration Tool. You don’t need to be technically sound in order to use this application. This utility will help you to migrate all the mailboxes from Exchange without affecting data integrity. Additionally, you can avail for services as well and they will complete the task for you.
Conclusion
In this article, we have explained Exchange to Office 365 migration step by step in 4 major steps. The entire task is divided in 4 sections and you carry out the process in same pattern. Administrators need to be extremely careful while performing the task as any small mistake can result in data loss. The manual process is lengthy and time consuming and requires technical expertise as well. So, it is suggested to take help of third-party applications if you are not technically sound.
Related Posts


